To connect an IPTV box to your TV, simply follow the video settings menu and turn on the “DVI overload” and “Automatic switching frame frequency” options. By doing so, you will be able to successfully connect your IPTV box to your TV without any complications.
If you’re looking to connect your IPTV box to your TV, it’s important to know the exact steps to ensure a smooth and hassle-free process. In this guide, we will discuss the concise steps you need to follow to connect your IPTV box to your TV, so you can start enjoying your favorite shows and channels seamlessly.
With a few simple settings adjustments, you’ll be able to connect your IPTV box to your TV and enjoy a high-quality streaming experience in no time. So, let’s delve into the details and get you connected to your TV
Step 1: Gather The Required Equipment
To connect your IPTV box to your TV, start by gathering the required equipment, including an HDMI cable, power supply, and USB cable. Once you have these items, you can proceed to the next steps of the setup process.
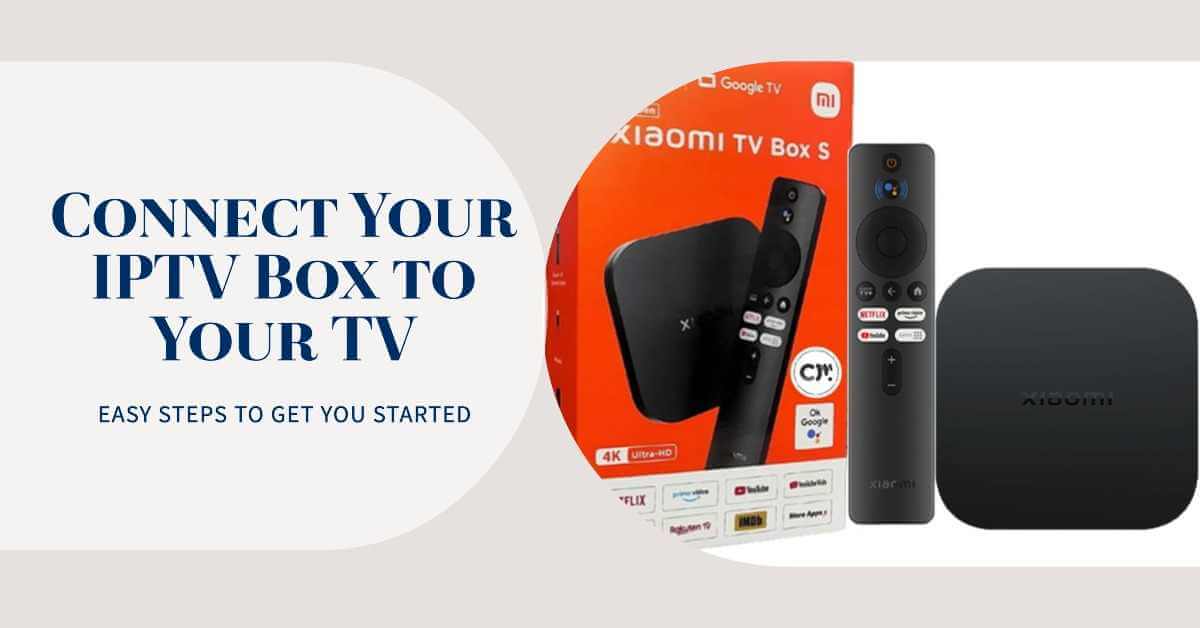
IPTV Box
To connect your IPTV Box to your TV, the first step is to gather the required equipment. The most important piece of equipment is, of course, the IPTV Box itself. This box is what allows you to access and stream IPTV content on your TV. There are different types of IPTV Boxes available in the market, such as MAG Box or Formula Box, so make sure you have the right one for your needs.
Tv
Next, you will need a TV to connect your IPTV Box to. Any TV with an HDMI input will work for this purpose. If you have a Smart TV, it may already have the capability to connect to IPTV services without the need for an additional box. However, if you don’t have a Smart TV, using an IPTV Box is the easiest and most convenient way to access IPTV content on your TV.
HDMI Cable
To connect your IPTV Box to your TV, you will need an HDMI cable. This cable is used to transmit both audio and video signals from the IPTV Box to your TV. HDMI cables are widely available and can be purchased at any electronics store or online. Make sure to choose a high-quality HDMI cable for the best performance and picture quality.
Power Supply
Lastly, you will need a power supply for your IPTV Box. This usually comes in the form of a USB cable and a power unit. Simply connect one end of the USB cable to the IPTV Box and the other end to the power unit. Then, plug the power unit into a power outlet. This will provide the necessary power for your IPTV Box to function properly. By gathering the required equipment – the IPTV Box, a TV, an HDMI cable, and a power supply – you are now ready to move on to the next step of connecting your IPTV Box to your TV. Stay tuned for our next blog post where we will guide you through the process step by step.
Step 2: Connect The IPTV box To The TV
Now that you have successfully connected your IPTV box to the power supply, it’s time to connect it to your TV. This step is crucial for ensuring that you can enjoy all your favorite content on the big screen. Here’s how you can do it:
Insert One End Of The HDMI cable Into The HDMI port On The IPTV Box.
Take the HDMI cable provided with your IPTV box and locate the HDMI port on the back of the box. Insert one end of the HDMI cable into this port, ensuring a secure connection. The HDMI port usually has the label “HDMI” next to it, making it easy to identify.
Connect The Other End Of The HDMI cable To The HDMI port On The TV.
Locate the HDMI port on your TV, which is typically found on the back or side panel. Connect the other end of the HDMI cable to this port, ensuring a secure connection. Again, the HDMI port on your TV may be labeled as “HDMI”, making it easy to identify.
Once you have connected both ends of the HDMI cable, you are ready to proceed to the next step.
Step 3: Power Up The Iptv Box
To power up the IPTV box and connect it to your TV, simply plug in the box to a power source using the provided USB cable and power unit. This will allow you to enjoy your favorite IPTV content on your television.
In order to start using your IPTV Box, you need to properly power it up. Follow these simple steps:
Plug The Power Supply Into The Iptv Box
Locate the power supply cable that came with your IPTV Box. It usually has a USB connector on one end and a power adapter on the other. Take the USB connector and plug it into the designated port on the back of the IPTV Box.
Connect The Power Supply To A Power Outlet
Once the power supply is connected to the IPTV Box, find a nearby power outlet. Insert the power adapter into the outlet and make sure it is securely plugged in.
Make sure to choose a power outlet that is easily accessible and not obstructed by any furniture or objects. It is also advisable to use a surge protector to protect your IPTV Box from any power surges or electrical damage.
Avoid using extension cords or power strips when connecting the IPTV Box to the power supply. Instead, directly plug the power adapter into a wall outlet to ensure a stable power connection.
Once the power supply is connected to the IPTV Box and plugged into a power outlet, you are ready to move on to the next step of setting up your IPTV service and connecting it to your TV!
Step 4: Set Up The Iptv Box
Once you have successfully connected your IPTV box to your TV using an HDMI cable as mentioned in the previous step, it’s time to set up the box. Follow the instructions below to complete the initial setup process:
Turn On The TV and Select The Appropriate HDMI input
Make sure your TV is turned on and using the correct HDMI input where you connected the IPTV box. Using your TV remote control, navigate to the input or source button and select the corresponding HDMI input.
Follow The On-screen Instructions To Complete The Initial Setup Process
Once you’ve selected the correct HDMI input, the IPTV box will start up and display on-screen instructions to guide you through the setup process. These instructions may vary depending on the brand and model of your IPTV box, so make sure to carefully read and follow the steps provided.
During the initial setup, you may be prompted to enter your network information, such as Wi-Fi credentials, if you plan to connect your IPTV box to the internet wirelessly. Follow the on-screen instructions to connect to your home Wi-Fi network.
Once the initial setup is complete, you can start enjoying your IPTV services and access a wide range of content right on your TV.
Remember to refer to the user manual or online documentation provided by the manufacturer for more specific instructions related to your IPTV box.
Step 5: Connect The Iptv Box To The Internet

Once you have successfully connected your IPTV Box to your TV, the next step is to establish an internet connection. This is crucial for accessing and streaming your favorite channels and content. Luckily, connecting your IPTV Box to the internet is a straightforward process. Here are two ways to do it:
Use Either A Wired Or Wireless Connection To Connect The IPTV box To The Internet
When it comes to connecting your IPTV Box to the internet, you have the option to use either a wired or wireless connection. Let’s take a look at both options:
A. Wired Connection:
If you prefer a reliable and stable connection, using an Ethernet cable is your best bet. Here’s how to do it:
- Locate the Ethernet port on your IPTV Box.
- Connect one end of the Ethernet cable to the IPTV Box, and the other end to your router or modem.
- Ensure both ends of the cable are securely plugged in.
That’s it! Your IPTV Box is now connected to the internet using a wired connection.
B. Wireless Connection:
If you prefer the convenience of a wireless connection, here’s how to connect your IPTV Box to the internet:
- Navigate to the settings menu on your IPTV Box.
- Look for the network or Wi-Fi settings option.
- Select your Wi-Fi network from the available list.
- Enter your Wi-Fi password if prompted.
- Wait for your IPTV Box to establish a connection with your Wi-Fi network.
Congratulations! Your IPTV Box is now connected to the internet using a wireless connection.
Follow The Instructions Provided By The Iptv Box To Establish The Internet Connection
It’s important to note that the specific steps to establish an internet connection may vary depending on the model and brand of your IPTV Box. To ensure a seamless connection, make sure to follow the instructions provided by the manufacturer. These instructions are typically found in the user manual or on the manufacturer’s website.
By following the instructions provided by your IPTV Box, you can easily establish a stable and reliable internet connection. Once connected, you’ll be ready to enjoy all the amazing channels and content offered by your IPTV service.
Step 6: Access And Customize Iptv Channels
Once you have successfully connected your IPTV box to your TV, it’s time to access and customize your IPTV channels. Follow these easy steps:
Use The Provided Remote Control To Navigate The Iptv Box Interface
To get started, use the remote control that comes with your IPTV box to navigate through the user interface. Use the arrow keys to scroll up, down, left, and right. The remote control typically has dedicated buttons for accessing the main menu, channel list, and settings.
Browse And Search For Your Favorite IPTV Channels
Next, browse and search for your favorite IPTV channels. The user interface of the IPTV box should provide you with a channel list or guide. Use the arrow keys to scroll through the available channels and press the OK or select button on the remote control to tune in to a specific channel.
Customize The Channel Lineup According To Your Preferences
To personalize your IPTV experience, you can customize the channel lineup according to your preferences. This means you can rearrange the order of channels, create favorites lists, and even hide channels you are not interested in.
To customize the channel lineup, you will typically find options in the settings menu of the IPTV box. Look for options like “Channel Editor” or “Channel Management.” From there, you can select channels, change their order, and apply your desired customization.
By following these steps, you can easily access and customize your IPTV channels to create a personalized viewing experience. Whether you want to organize channels based on genres or simply prioritize your favorite channels, the ability to customize your IPTV channel lineup gives you complete control over your entertainment.
Step 7: Enjoy Iptv On Your TV
Discover how to connect your IPTV box to your TV with our step-by-step guide. Enjoy your favorite IPTV channels on the big screen and enhance your viewing experience. Say goodbye to complicated setups and start enjoying IPTV on your TV today.
Maximize Your Iptv Experience With Additional Features:
- Explore the customizable options available on your IPTV box to personalize your viewing experience.
- Organize your favorite channels and content into separate app groups for easy access.
- Take advantage of advanced sound settings to enhance audio quality.
- Enjoy a seamless viewing experience with window animation scale adjustments.
- Efficiently manage your applications and clear up any clutter from your IPTV box.
- Block adult categories and customize your channel preferences to ensure family-friendly viewing.
- Add your favorite IPTV channels to your playlist for quick and convenient access.
- Keep your IPTV box and applications up to date with regular maintenance and updates.
Indulge In Uninterrupted Entertainment:
With your IPTV box properly connected to your TV and all the necessary settings in place, you can now enjoy uninterrupted entertainment on your terms. Sit back, relax, and immerse yourself in a world of captivating content, all conveniently accessible from the comfort of your living room.
Frequently Asked Questions On How To Connect Iptv Box To TV
How Do I Connect My Iptv Box To Wifi?
To connect your IPTV box to WiFi, follow these steps: 1. Go to your IPTV box’s settings. 2. Look for the WiFi or Network option. 3. Select it and scan for available networks. 4. Choose your WiFi network from the list.
5. Enter your WiFi password and connect. That’s it! Your IPTV box is now connected to WiFi. Enjoy your favorite shows and channels.
How Does IPTV Work On TV?
IPTV works on TV by connecting your IPTV box (such as MAG or Formula) to your TV. You need an internet connection and a device, like a desktop PC, laptop, or smartphone, to view IPTV content. You can also use an older TV model by connecting it to a set-top box.
Do You Need A Smart TV for an IPTV Box?
To use an IPTV box, you do not need a Smart TV. You can connect an IPTV box to any TV with an HDMI port.
Can Iptv Work On Smart TV?
Yes, IPTV can work on Smart TVs. Simply connect your Smart TV to the internet and download a dedicated IPTV app from the app store. Some Smart TVs may already come with pre-installed IPTV apps. Alternatively, you can use a set-top box to access IPTV on older TV models.
How Do I Connect My Iptv Box To Wifi?
To connect your IPTV box to WIFI, go to the settings on your box, select the WIFI option, and enter your WIFI network name and password.
Do You Need A Smart TV for An Iptv Box?
No, you don’t need a Smart TV to use an IPTV box. As long as you have a TV with an HDMI port, you can connect the IPTV box and enjoy IPTV content.
How Does IPTV Work On TV?
IPTV works by streaming television content over the internet. With an IPTV box connected to your TV, you can access live TV channels, on-demand content, and even record shows for later viewing.
Can Iptv Work On A Smart TV?
Yes, IPTV can work on a Smart TV. You can download a dedicated IPTV app from the app store on your Smart TV or check if the TV comes pre-installed with an IPTV app.
Do I Need To Get A New Tv, Or Is An Older One Ok?
You can easily get IPTV on older TV models by using a set-top box. Simply connect the set-top box to your TV using an HDMI cable, and you’re good to go.
How Do I Set Up Iptv On A Smart TV?
To set up IPTV on a Smart TV, make sure your TV is connected to the internet via Wi-Fi or an Ethernet cable. Then, navigate to the app store on your Smart TV and look for a dedicated IPTV app.
Some TVs may come pre-installed with IPTV apps.
Final Thoughts
To connect your IPTV box to your TV, follow the simple steps outlined in this blog post. By properly connecting the HDMI cable, plugging in the IPTV box, and setting up your network, you’ll be able to enjoy your favorite IPTV content on your TV in no time.
Don’t forget to configure the settings and add your favorite IPTV channels for a personalized viewing experience. Say goodbye to complicated setups and hello to seamless IPTV connectivity. Start enjoying your favorite shows and movies hassle-free today.


Leave a Reply
You must be logged in to post a comment.