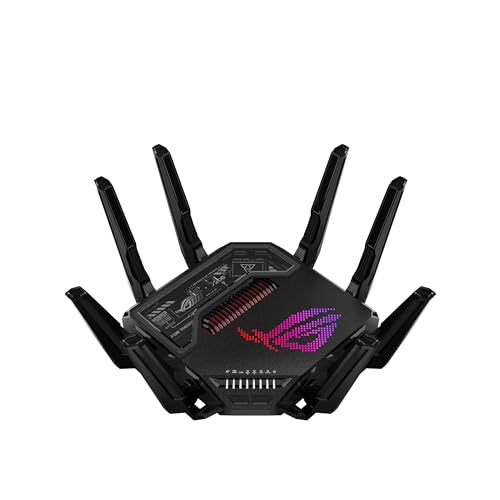
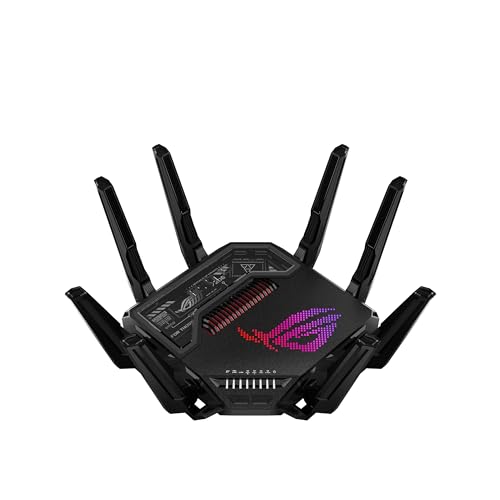
What is Wireless Isolation in WiFi Router? Wireless isolation is a feature on some routers that allows you to prevent communication between wirelessly-connected devices. When wireless isolation is enabled, devices that are connected to the router via Wi-Fi will not be able to communicate with each other. This can be useful if you want to prevent devices from accessing each other’s data, or if you want to limit the amount of traffic on your network.
Most routers have a feature called “wireless isolation” or “guest mode” that allows you to create a second, isolated wireless network. This is useful if you want to give guests access to the internet but don’t want them snooping around your local network. When guest mode is enabled, guests will be able to connect to the router’s wireless network and access the internet, but they won’t be able to see any of the other devices on your local network.
Wireless isolation is a great way to keep your guests from accidentally accessing sensitive data or causing problems on your local network. It’s also a good way to make sure that any malicious software that they might have brought with them doesn’t spread to your other devices. If you regularly have guests over and want to give them wireless access, enable guest mode on your router and rest easy knowing that they can’t cause any harm.
Should I Enable Wireless Isolation
If you have a wireless router at home, you may be wondering if you should enable the wireless isolation feature. This feature can be found in the router’s settings and it essentially prevents devices from communicating with each other wirelessly. So, if you enable this feature, your devices will still be able to connect to the internet, but they won’t be able to communicate with each other.
There are a few reasons why you might want to enable wireless isolation. First of all, it can improve security. If your devices can’t communicate with each other, then it’s more difficult for someone to hack into your network.
Secondly, it can reduce interference. If you have a lot of devices on your network, they can start to interfere with each other and cause problems like slow speeds or dropped connections. Enabling wireless isolation can help reduce this interference.
Of course, there are also some downsides to enabling wireless isolation. First of all, it’s less convenient because your devices won’t be able to communicate with each other wirelessly. This means that if you want to transfer files between two devices, you’ll need to do so using a USB cable or an SD card.
Additionally, some smart home devices rely on being able to communicate wirelessly with each other in order to function properly. So, if you have any smart home devices on your network, they may not work as well with this feature enabled. Ultimately, whether or not you enable wireless isolation is up to you and depends on your specific needs and preferences.
If security and reducing interference are your top priorities, then enabling this feature is probably a good idea.
What is Wi-Fi Isolation on a Router?
Most routers have a feature called Wi-Fi isolation, also known as client isolation, guest network isolation, or AP isolation. This feature prevents devices connected to the guest network from communicating with devices on the main network. Wi-Fi isolation is a valuable security measure, especially if you use your router’s guest network feature.
By isolating guests from the rest of your network, you can be sure that they won’t be able to access sensitive data or infect other devices with malware. If you’re not using your router’s guest network feature, though, there’s no need to enable Wi-Fi isolation. In fact, doing so will just make it more difficult for devices on your network to communicate with each other.
Should I Enable Wi-Fi Isolation?
There’s no one-size-fits-all answer to this question, as the best course of action depends on your specific needs and situation. However, in general, enabling Wi-Fi isolation can be a good idea if you’re looking to increase security and limit potential access points for malicious actors. When Wi-Fi isolation is enabled, devices on a network are prevented from communicating directly with each other.
This means that even if someone was able to gain access to your network, they wouldn’t be able to easily spread malware or steal data from other connected devices. Additionally, it can help prevent accidental data leaks – for example, if you accidentally connect to a public Wi-Fi network and start sharing files without realizing it. Of course, there are also some downsides to enabling Wi-Fi isolation.
For one thing, it can make it more difficult to troubleshoot problems on your network. Additionally, it may not be ideal for households with multiple people who need to share files or printers – in those cases, you may want to consider setting up a guest network instead. Ultimately, whether or not you enable Wi-Fi isolation is up to you – there’s no right or wrong answer.
Just weigh the pros and cons carefully and make the decision that makes the most sense for your needs.
How Do I Turn off Wi-Fi Isolation?
Assuming you would like a blog post discussing how to disable wifi isolation: Most routers have a feature called “isolation” or “access control” that allows you to prevent devices on your network from communicating with each other. This can be useful if you want to make sure that devices on your guest network can’t access your main network, for example.
If you want to allow devices on your network to communicate with each other, you will need to disable this feature. Here’s how to do it:
1. Log into your router. This will usually involve typing 192.168.1.1 into your web browser and entering a username and password when prompted.
2. Find the section of the router interface that deals with wireless settings and look for an option called “isolation” or “access control” (the name will vary depending on your router).
3. Disable the isolation feature by unchecking the box or selecting the appropriate option. Save your changes and exit the router interface.
4a) If you want all devices on your network to be able to communicate with each other, that’s it! You don’t need to do anything else.
4b) If you only want certain devices to be able to communicate with each other, you will need create a “wireless DMZ” (demilitarized zone). To do this, log back into your router interface and find the section that deals with firewall settings. Look for an option called “DMZ” and enter the IP address of the device that you want to be in the DMZ in the appropriate field. Save your changes and exit the router interface.
Final Thoughts
Most routers have a feature called “wireless isolation” or “AP isolation” that can be used to prevent communication between devices on the same network. When this feature is enabled, devices connected to the router will only be able to communicate with the router itself and not with each other. This can be useful if you want to make sure that devices on your network are not able to share files or access each other’s data.


Leave a Reply
You must be logged in to post a comment.