How to Enable WPS on Xfinity Router? If you want to enable WPS on your Xfinity router, there are a few things that you need to do. First, you’ll need to log into your router’s web interface. Once you are logged in, look for the WPS section.
In the WPS section, you’ll need to find the Enable option and select it. After that, save your changes and reboot your router. Once your router has rebooted, go to the wireless settings page and look for the WPS option.
Select it and then enter the PIN that you generated earlier. Finally, click on the Connect button and wait for the connection to be established.
- Use an Ethernet cable to connect your computer directly to the router
- Open a web browser and enter “http://192.168.1.1 or http://192.168.0.1 ( it can be different )
- Enter your administrator username and password when prompted and click “Log In”
- Click on the “Wireless” tab near the top of the page and then select “Basic Wireless Settings” from the menu on the left-hand side
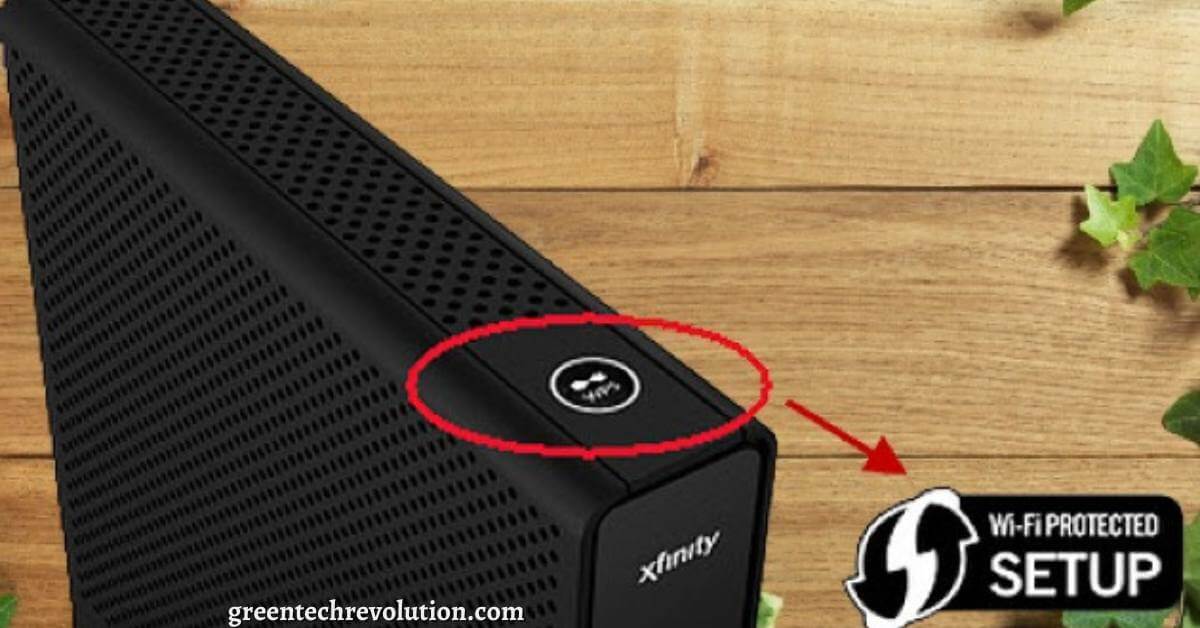
- Find the section labeled “Wi-Fi Protected Setup (WPS)” and check the box next to “Enable WPS”
- Click on the “Apply” button at the bottom of the page to save your changes

What is WPS
WPS stands for Wi-Fi Protected Setup. It’s a feature that was introduced in 2006 to make it easier to set up and secure a wireless home network. In order to use WPS, you’ll need a router that supports the feature.
To set up a WPS connection, you’ll need to enter a PIN or push a button on the router. Once the connection is established, your devices will be able to automatically connect to the network without having to enter any passwords. One of the advantages of using WPS is that it’s much simpler than setting up a traditional password-protected Wi-Fi network.
However, there are some disadvantages as well. One is that if someone gains access to your WPS PIN, they could easily connect to your network without your permission. Another downside is that not all devices support WPS, so you may have compatibility issues if you’re trying to connect an older device to a new router.
Overall, WPS can be a convenient way to set up a wireless home network. Just be sure to take security precautions and only use it with devices that are compatible with the feature.
How Do I Enable WPS on My Xfinity Router
In order to enable WPS on your Xfinity router, you will need to log in to the router’s web interface. Once logged in, click on the “Wireless” tab and then look for the “WPS” section. Here, you should see an option to enable WPS.
Once enabled, you will need to select either the “Push Button” or “PIN” method of connecting devices. For most devices, the Push Button method will be the easiest to use.
Our Top Picks Xfinity Router
[amazon table=”5683″]
What are the Benefits of Enabling WPS on My Xfinity Router
If you have an Xfinity router, you may be wondering what the benefits are to enabling WPS. WPS stands for WiFi Protected Setup and it is a feature that allows you to easily connect devices to your home WiFi network without having to enter a password. Here are some of the benefits of enabling WPS on your Xfinity router:
1. Easy connection for devices – As mentioned above, one of the main benefits of enabling WPS on your Xfinity router is that it makes it easy to connect devices to your home WiFi network. If you have a device that supports WPS, all you need to do is push a button on the router and then push a button on the device and they will be automatically connected. This is much easier than having to enter a password for each device.
2. Increased security – Another benefit of enabling WPS on your Xfinity router is that it can actually increase the security of your home WiFi network. When WPS is enabled, the network uses 128-bit encryption which is more secure than 64-bit encryption. Additionally, with WPS enabled, only devices that have Push Button Configuration (PBC) or Personal Identification Number (PIN) authentication can connect to the network.
This means that someone would need physical access to your router in order to connect a device, which makes it more difficult for someone to hack into your network.
3. Convenience – Enabling WPS on your Xfinity router also provides convenience if you ever need to add new devices or make changes to your home WiFi network. With WPS enabled, you can simply add new devices by pushing a button instead of having to go through the process of entering passwords or changing settings on your router.
Final Thoughts
In order to enable WPS on your Xfinity router, you will need to access the router’s web interface. Once you have logged in, you will need to navigate to the Wireless Settings page. On this page, you will find a section labeled “Wi-Fi Protected Setup.”
In this section, there will be a checkbox that says “Enable Wi-Fi Protected Setup.” You will need to check this box and then click on the “Apply” button.


Leave a Reply
You must be logged in to post a comment.