To connect a La Crosse Weather Station to WiFi, open the La Crosse View App and select “Connect Wi-Fi” from the main menu. The app will guide you through the connection process.
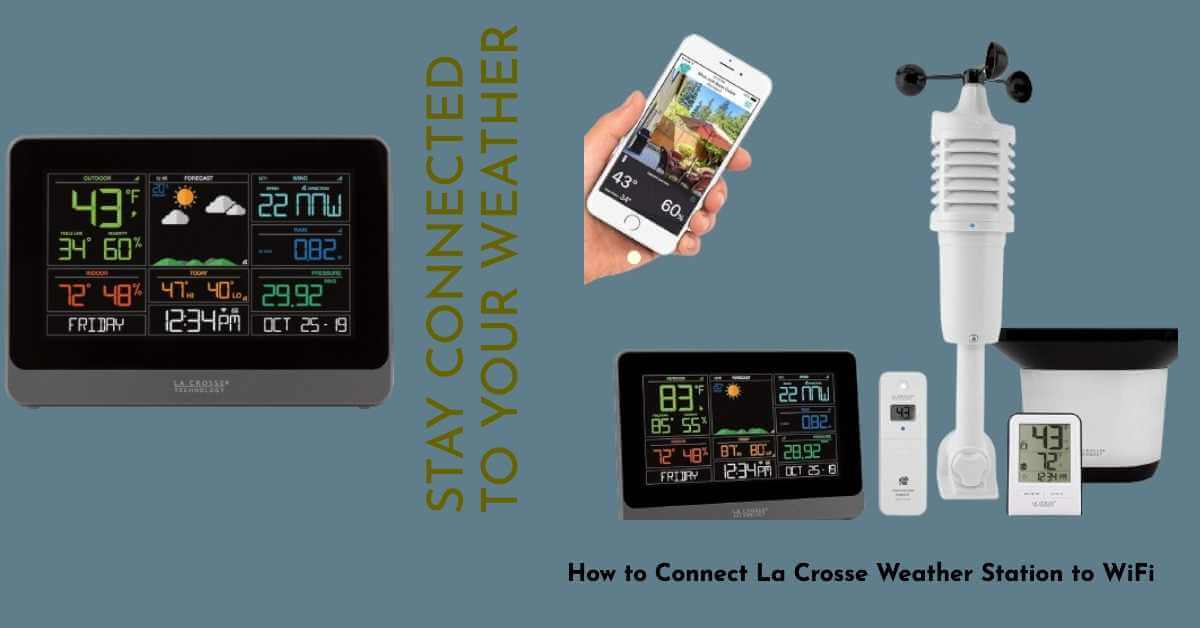
La Crosse Technology is a multinational manufacturer of electronic products, including weather stations, radio-controlled clocks, and watches. They offer a wide range of weather monitoring devices that can be connected to WiFi for convenient access to weather data. Connecting your La Crosse Weather Station to WiFi allows you to remotely monitor and track weather conditions using the La Crosse View App.
In this guide, we will discuss the steps to connect your La Crosse Weather Station to WiFi and enjoy the benefits of wireless weather monitoring.
Understanding La Crosse Weather Station
Discover how to effortlessly connect your La Crosse Weather Station to your home WiFi network. Follow our easy step-by-step guide and never miss out on accurate and up-to-date weather data again.
Overview Of La Crosse Weather Station Features And Benefits
Before we dive into the process of connecting your La Crosse Weather Station to WiFi, let’s first understand the features and benefits of this innovative weather monitoring device. La Crosse Weather Station is designed to provide accurate and up-to-date weather information for your location. It offers a wide range of features that make it a must-have for any weather enthusiast or homeowner.
With the La Crosse Weather Station, you can easily monitor indoor and outdoor temperature, humidity levels, wind speed, and rainfall. The device also provides a forecast with additional weather data, such as barometric pressure and custom messages. These features allow you to stay informed about the weather conditions in real time and make informed decisions for outdoor activities, gardening, or simply planning your day.
Additionally, the La Crosse Weather Station offers extended forecasts, allowing you to track weather patterns for a longer period. It also supports add-on sensors, enabling you to expand its functionality and monitor specific areas or elements, like soil moisture or UV index. The device comes with a user-friendly app that allows you to conveniently access and analyze all the data collected.
Introduction To The Importance Of Connecting The Device To Wifi
Connecting your La Crosse Weather Station to WiFi is crucial to fully utilize its capabilities and benefits. By establishing a WiFi connection, you can enjoy additional features and functionalities that enhance your weather monitoring experience.
When connected to WiFi, your La Crosse Weather Station can automatically update its software and firmware. This ensures that you always have the latest features, bug fixes, and security enhancements installed, providing a seamless and optimized user experience. Plus, with WiFi connectivity, you can remotely access and control your weather station via the app from anywhere, anytime. This means you can keep an eye on the weather conditions even when you’re away from home.
Furthermore, connecting your La Crosse Weather Station to WiFi enables you to synchronize the device with online weather services. This allows you to compare your local weather data with regional or national forecasts, gaining a broader perspective on weather patterns. You can also share your weather data with other weather enthusiasts or contribute to citizen science projects, fostering a sense of community and collaboration.
In summary, connecting your La Crosse Weather Station to WiFi opens up a world of possibilities, allowing you to access real-time weather information, receive automatic updates, and interact with a wider weather monitoring network. So, let’s now explore how you can easily connect your device to WiFi and unlock its full potential.
Preparing Your La Crosse Weather Station For Wi-Fi Connection
To connect your La Crosse weather station to WiFi, start by scanning or entering the device ID and confirming it. Then, enter your WiFi password to connect the station to your network. Finally, configure internet display options and enjoy enhanced features like additional forecast icons and weather data.
Unboxing And Assembling The Weather Station
After purchasing your La Crosse weather station, the first step in preparing it for Wi-Fi connection is unboxing and assembling the device. Start by carefully unboxing all the components, including the display console, outdoor sensor(s), and any additional accessories that may have come with your specific model.
Once unboxed, refer to the user manual provided by La Crosse Technology for detailed instructions on how to assemble the weather station. Typically, this involves attaching the outdoor sensor(s) to a suitable location outside your home, such as a pole or wall. Make sure to position the sensor(s) in a spot that is free from obstructions and receives accurate readings of temperature, humidity, and other weather data.
Downloading And Installing The La Crosse View App
To connect your La Crosse weather station to Wi-Fi, you’ll need to download and install the La Crosse View app on your smartphone or tablet. Visit the app store specific to your device’s operating system, whether it’s the App Store for iOS or the Google Play Store for Android. Once you’ve found the La Crosse View app, tap on the “Install” or “Get” button to begin the downloading process. Wait for the app to finish downloading and installing on your device.
Registering And Creating An Account
After the La Crosse View app has been successfully installed, open it on your device. The app will guide you through the process of registering and creating an account. Tap on the “Sign Up” or “Register” button to begin. Provide the necessary information, such as your email address, password, and any other details required for account creation.
Make sure to choose a strong and unique password to protect your account. Once you’ve completed the registration process, you will have successfully created an account with La Crosse View. Remember to securely store your login credentials for future access to the app.
Unboxing and assembling the weather station
After purchasing your La Crosse weather station, the first step in preparing it for Wi-Fi connection is unboxing and assembling the device. Start by carefully unboxing all the components, including the display console, outdoor sensor(s), and any additional accessories that may have come with your specific model.
Once unboxed, refer to the user manual provided by La Crosse Technology for detailed instructions on how to assemble the weather station. Typically, this involves attaching the outdoor sensor(s) to a suitable location outside your home, such as a pole or wall. Make sure to position the sensor(s) in a spot that is free from obstructions and receives accurate readings of temperature, humidity, and other weather data.
Downloading and installing the La Crosse View app
To connect your La Crosse weather station to Wi-Fi, you’ll need to download and install the La Crosse View app on your smartphone or tablet. Visit the app store specific to your device’s operating system, whether it’s the App Store for iOS or the Google Play Store for Android. Once you’ve found the La Crosse View app, tap on the “Install” or “Get” button to begin the downloading process. Wait for the app to finish downloading and installing on your device.
Registering and creating an account
After the La Crosse View app has been successfully installed, open it on your device. The app will guide you through the process of registering and creating an account. Tap on the “Sign Up” or “Register” button to begin. Provide the necessary information, such as your email address, password, and any other details required for account creation.
Make sure to choose a strong and unique password to protect your account. Once you’ve completed the registration process, you will have successfully created an account with La Crosse View. Remember to securely store your login credentials for future access to the app.
Connecting La Crosse Weather Station To Your Wifi Network
Connecting your La Crosse Weather Station to your home Wi-Fi network is a crucial step in order to start receiving accurate and up-to-date weather data. By connecting your station, you can conveniently monitor weather conditions from the comfort of your device. In this guide, we will walk you through the step-by-step process of connecting your La Crosse Weather Station to your home Wi-Fi network.
Locating And Entering The Device ID in The App
The first step to connect your La Crosse Weather Station to your Wi-Fi network is to locate and enter the device ID in the app. The device ID is a unique identifier for your weather station, allowing the app to establish a connection. To find the device ID, you can either scan or type it manually into the app.
Verifying The Device And Image ID
Once you have entered the device ID, the next step is to verify that the device and image IDs are correct. This is an important step to ensure that you are connecting to the correct weather station and receiving accurate data. Double-check the IDs to avoid any potential connection issues.
Entering Relevant Device And Location Information
After verifying the IDs, you will need to enter relevant device and location information. This includes details such as the name of your station, its location, and any additional information that will help you identify and manage your weather station effectively. This step will ensure that your data is organized and easily accessible.
Steps To Connect The Station To Your Home Wi-fi Network
Now that you have taken care of the preliminary steps, it’s time to connect your La Crosse Weather Station to your home Wi-Fi network. Follow these simple steps:
- Open the app and navigate to the Wi-Fi settings.
- Select your home Wi-Fi network from the available options.
- Enter your Wi-Fi password when prompted.
- Wait for the app to establish a connection with your weather station.
Once the connection is established, you will be able to monitor weather data and receive updates directly on your device. Ensure that your weather station is within the range of your Wi-Fi network for a stable and reliable connection.
Connecting your La Crosse Weather Station to your home Wi-Fi network is a straightforward process that allows you to access real-time weather information with ease. By following the steps outlined in this guide, you’ll be well on your way to enjoying the convenience and accuracy of your weather station’s data.
Troubleshooting Tips For Wi-Fi Connection Issues
Are you struggling to connect your La Crosse weather station to Wi-Fi? Don’t worry, we’ve got you covered. In this section, we will discuss some common issues with Wi-Fi connection and provide troubleshooting tips to ensure a successful connection. We will also guide you on how to check and adjust router settings if necessary, as well as understand the provision mode and its usage. Let’s dive in!
Common Issues With Wifi Connections and Their Solutions
When it comes to connecting your La Crosse weather station to Wi-Fi, you may encounter a few common issues. Here are some of them along with their solutions:
| Issue | Solution |
|---|---|
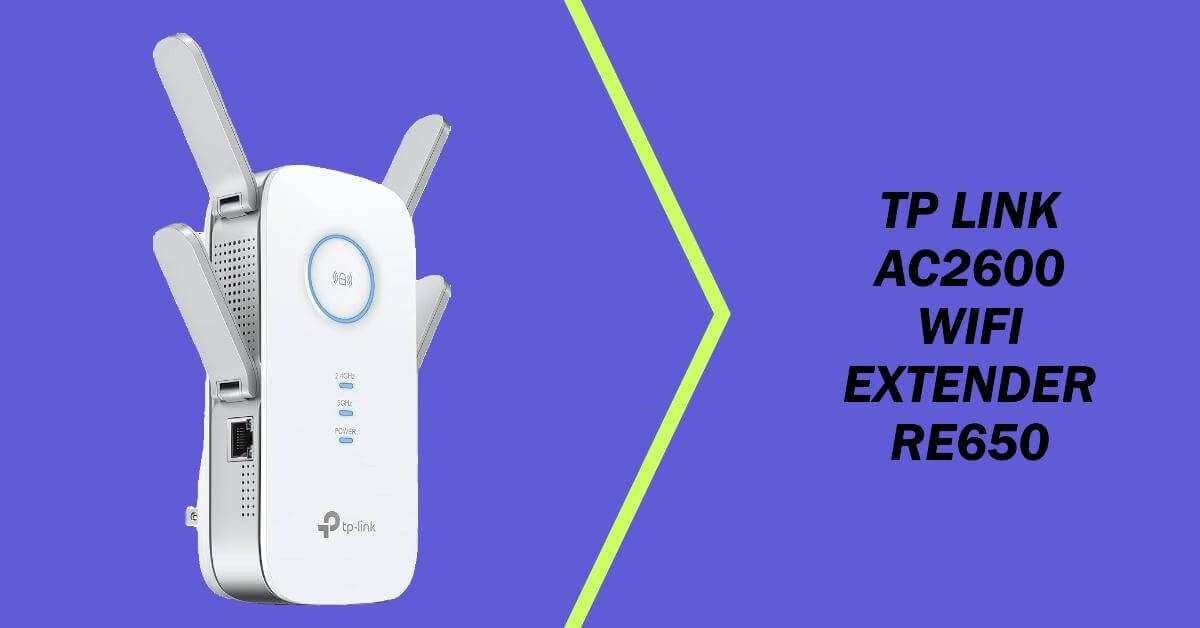
| Weak Wi-Fi signal | 1. Move the weather station closer to your router to improve the signal strength. 2. Ensure there are no obstructions, such as walls or furniture, between the weather station and your router. 3. Consider using a Wi-Fi range extender or repeater if the signal is consistently weak. |
| Incorrect Wi-Fi credentials | 1. Double-check the Wi-Fi password you entered for your weather station. 2. Make sure there are no typos or errors in the password. 3. If necessary, reset the Wi-Fi settings on your weather station and enter the credentials again. |
| Router compatibility issues | 1. Check the compatibility of your router with the La Crosse weather station. 2. Consult the user manual or the manufacturer’s website for compatibility information. 3. Consider upgrading your router if it is not compatible. |
Troubleshooting Tips To Ensure A Successful Connection
To ensure a successful Wi-Fi connection for your La Crosse weather station, here are some troubleshooting tips:
- Power cycle your weather station and router by turning them off and on again.
- Disconnect and reconnect the Wi-Fi connection on your weather station.
- Check if other devices in your home can connect to the Wi-Fi network. If not, there may be an issue with your router.
- Reset the network settings on your weather station and enter the Wi-Fi credentials again.
- Update the firmware of your weather station to the latest version, if available.
- Contact La Crosse Technology customer support for further assistance if the issue persists.
Checking And Adjusting Router Settings If Necessary
If you have tried the above troubleshooting tips and still cannot connect your La Crosse weather station to Wi-Fi, it may be worth checking and adjusting your router settings. Here’s how:
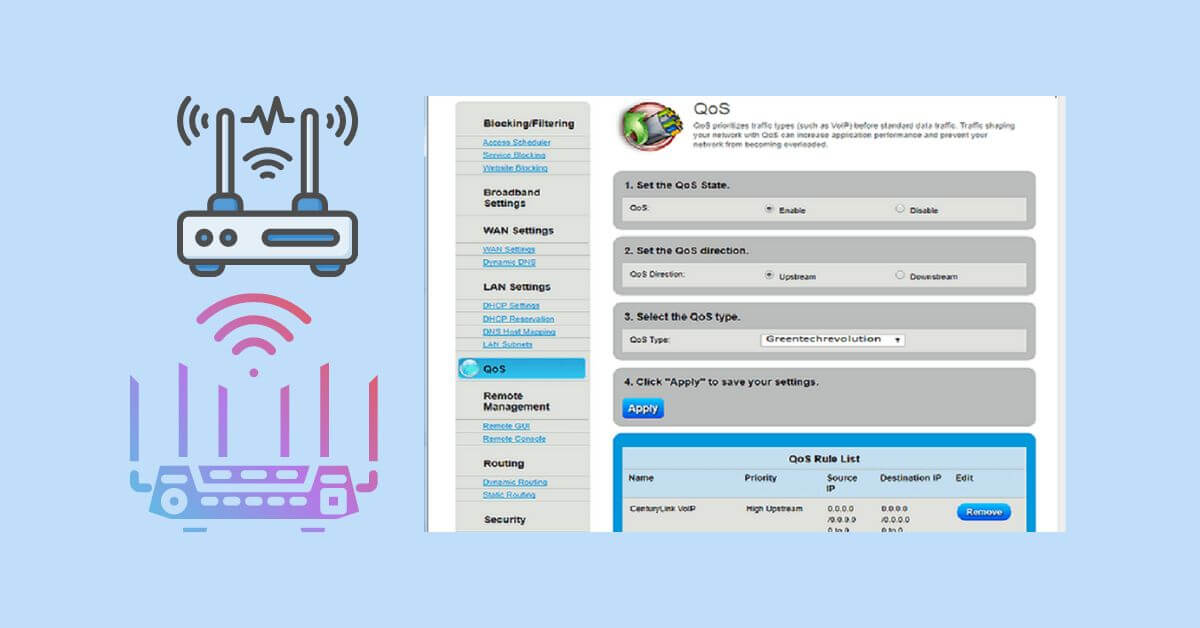
- Access your router’s settings by typing its IP address into a web browser.
- Enter the username and password for your router when prompted.
- Look for the wireless settings or Wi-Fi settings section in the router’s interface.
- Ensure that the Wi-Fi network is enabled and broadcasting.
- Check if any security features, such as MAC filtering or firewall settings, are blocking the connection.
- Consider changing the Wi-Fi channel to reduce interference from other devices.
By checking and adjusting your router settings if necessary, you can increase the chances of successfully connecting your La Crosse weather station to Wi-Fi.
Exploring Internet Display Features Of La Crosse Weather Station
Discover the internet display features of the La Crosse Weather Station and learn how to easily connect it to your Wi-Fi network. Gain access to additional forecast icons, weather data, custom messages, and more to enhance your weather monitoring experience.
Overview Of Internet Enhancements For The Weather Station
La Crosse Weather Station offers a range of internet display features that enhance your weather monitoring experience. By connecting your weather station to Wi-Fi, you can access additional forecast icons, weather data, and customization options. In this article, we will delve into these internet enhancements and walk you through the setup process to ensure you get the most out of your La Crosse Weather Station.
Additional Forecast Icons And Weather Data
When connected to the internet, the La Crosse Weather Station provides you with a wide variety of forecast icons to help you plan your day with more precision. Whether it’s sunny, cloudy, rainy, or snowy, you’ll have a visual representation of the weather conditions right on your weather station’s display. Additionally, you’ll have access to more detailed weather data, including temperature, humidity, wind speed, and precipitation levels. Stay informed about the current and upcoming weather conditions in your area like never before.
Custom Messages And Customization Options
The internet display features of the La Crosse Weather Station allow you to personalize your weather station by adding custom messages. Whether it’s a motivational quote, a reminder, or a simple greeting, you can showcase your own message on the display. Furthermore, you have the freedom to customize various display options such as brightness, contrast, and units of measurement. Tailor your weather station to suit your preferences and create a unique and personalized weather monitoring experience.
Setting And Syncing Time And Date
With the La Crosse Weather Station’s internet display features, you no longer have to manually set and update the time and date. Once connected to Wi-Fi, your weather station will automatically sync with the internet, ensuring accurate and up-to-date time and date information. Say goodbye to the hassle of constantly adjusting your weather station and enjoy the convenience of automatic time and date synchronization.
Utilizing The Built-in Barometer For Accurate Forecasting
The La Crosse Weather Station is equipped with a built-in barometer that measures atmospheric pressure. By utilizing this feature, you can obtain accurate weather forecasting for your location. The barometer takes into account changes in air pressure and provides you with insights into upcoming weather patterns. Stay ahead of the weather and make informed decisions based on reliable and precise forecasts.
Frequently Asked Questions On How To Connect La Crosse Weather Station To Wifi
How Do I Connect My Lacrosse Weather Station To Wi-fi?
To connect your LaCrosse weather station to Wi-Fi, open the app and select “Connect Wi-Fi” from the main menu. The app will guide you through the process.
Why won’t my Lacrosse Weather Station Connect To Wi-fi?
To connect your LaCrosse weather station to Wi-Fi, follow these steps:
1. Open the app and select “Connect Wi-Fi” from the main menu.
2. The app will guide you through the setup process.
3. Make sure to enter your Wi-Fi password correctly.
4. If you’re having trouble connecting, check your router settings or contact LaCrosse support for assistance. Remember to follow the instructions provided in the app for the best connection method.
How Do I Connect My La Crosse Weather Station To The App?
To connect your La Crosse weather station to the app, open the app and select “Connect Wi-Fi” from the main menu. The app will guide you through the process of connecting your station to your Wi-Fi network.
How Do I Reset My La Crosse Wireless Weather Station?
To reset your La Crosse wireless weather station, open the app and select “Connect Wi-Fi” from the main menu. The app will guide you through the process.
How Can I Connect My La Crosse Weather Station To My Wifi?
To connect your La Crosse weather station to WiFi, follow the instructions in the La Crosse View – Wi-Fi Connection Troubleshooting video tutorial.
Why Is My La Crosse Weather Station Not Connecting To Wifi?
If your La Crosse weather station is not connecting to WiFi, refer to the La Crosse View Troubleshooting guide for solutions to common connection issues.
What Is The Process To Connect My La Crosse Weather Station To The App?
To connect your La Crosse weather station to the app, follow the step-by-step set-up guide provided by La Crosse View App.
How Do I Reset My La Crosse Wireless Weather Station?
If you need to reset your La Crosse wireless weather station, watch the “What To Do When Outdoor Sensor Readings Show Dashes” video tutorial for instructions.
What Are The Steps To Connect The La Crosse Weather Station To My Home Wi-Fi Network?
To connect the La Crosse weather station to your home Wi-Fi network, follow the steps outlined in the Wi-Fi Connection section of the La Crosse Technology YouTube tutorial.
Can I Connect Multiple Sensors To The La Crosse Weather Station?
Yes, the La Crosse weather station supports the addition of multiple sensors for extended outdoor and indoor data monitoring. Refer to the La Crosse View App features guide for more information.
Final Thoughts
To connect your La Crosse Weather Station to WiFi, follow the steps provided in the guide. From setting up your station to connecting to your home WiFi network, the process is simple and quick. Once connected, you can enjoy the convenience of monitoring your weather station remotely and accessing additional features.
Stay informed about weather conditions right from your smartphone or tablet. Start connecting your La Crosse Weather Station to WiFi today and enjoy the benefits of advanced weather monitoring.


Leave a Reply
You must be logged in to post a comment.