MikroTik configure IP address and gateway- Static IP Configure

By:

Published:

Updated:

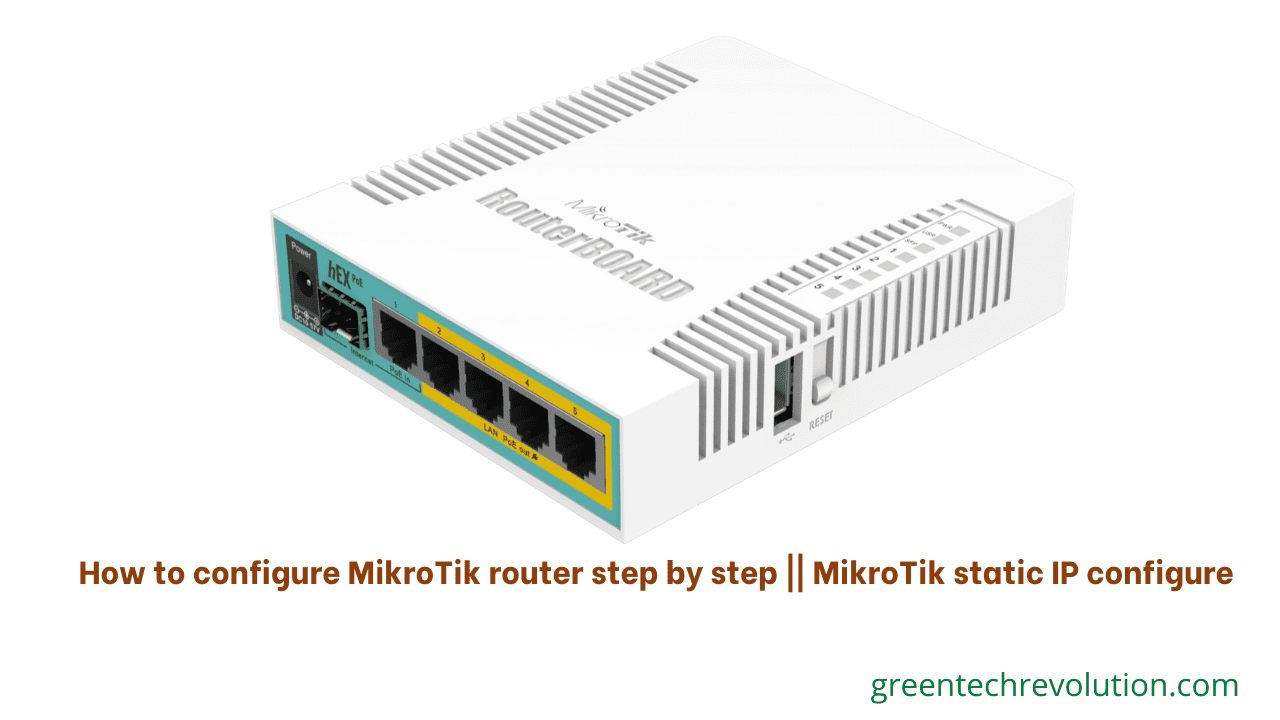
How to configure mikrotik router step by step - MikroTik static IP configure

Disclaimer

As an affiliate, we may earn a commission from qualifying purchases. We get commissions for purchases made through links on this website from Amazon and other third parties.

MikroTik configures IP address and gateway step by step:

There are three ways we can configure MikroTik Router for WAN side. Basically Static, DHCP, PPPoE. Today we will configure static. ISP has  given IP address, subnet mask and Gateway such as IP address: 192.168.0.0/24,  Gateway: 192.168.0.1,  Subnet Mask: 255.255.255.0, so we can start


configuration.

WAN Site configure ( Step1-Step3)

Step 1. winbox open: IP > Address  + address =such as( 192.168.0.1/24 ) > Interface = ether3 > Apply > OK

MikroTik Gateway Configure:

Step 2: IP  > Routes > Gateway + = such as( 192.168.0.1 ) > Apply > OK

MikroTik DNS configure:

Step 3: IP > DNS > DNS Settings > servers= 203.122.120.2
= 203.122.120.3
= 8.8.8.8
LAN Site configure ( Step1-Step3)
Step 1. winbox open: IP > Address  + address =such as( 10.10.0.1/24 ) > Interface = ether4 > Apply > OK
Step 2: IP > Firewall > NAT  + General > Chain=srcnat  > Src. address=10.10.0.0/24 > Action > Masquerade > Apply > OK
 Step 3: IP > Firewall > NAT> + action > masquerade> Apply >ok
You can see the video tutorial for better understanding:
==================================
 

Howdy! I’m Arafat Bidyut, Co-founder of a popular tech blog greentechrevolution, and a BSc in Electronics and Telecommunication Engineering.

With a passion for all things related to Wi-Fi routers, network devices, and software troubleshooting, my goal is to unravel the complexities of technology and make it accessible to everyone.

We may earn a commission if you click on the links within this article. Learn more.

Leave a Reply