Buffering videos, dropped Zoom calls, and dead zones in your home? If your Wi-Fi struggles to keep up with modern life, a mesh network might be the upgrade you need. Unlike traditional routers or clunky range extenders, a Wi-Fi mesh system blankets your entire space with seamless, high-speed connectivity—no more switching networks as you move from room to room. In this guide, we’ll walk you through everything you need to know to set up a mesh system like a pro, along with tips to maximize performance.
Why a Mesh System? The Problem-Solver for Modern Homes
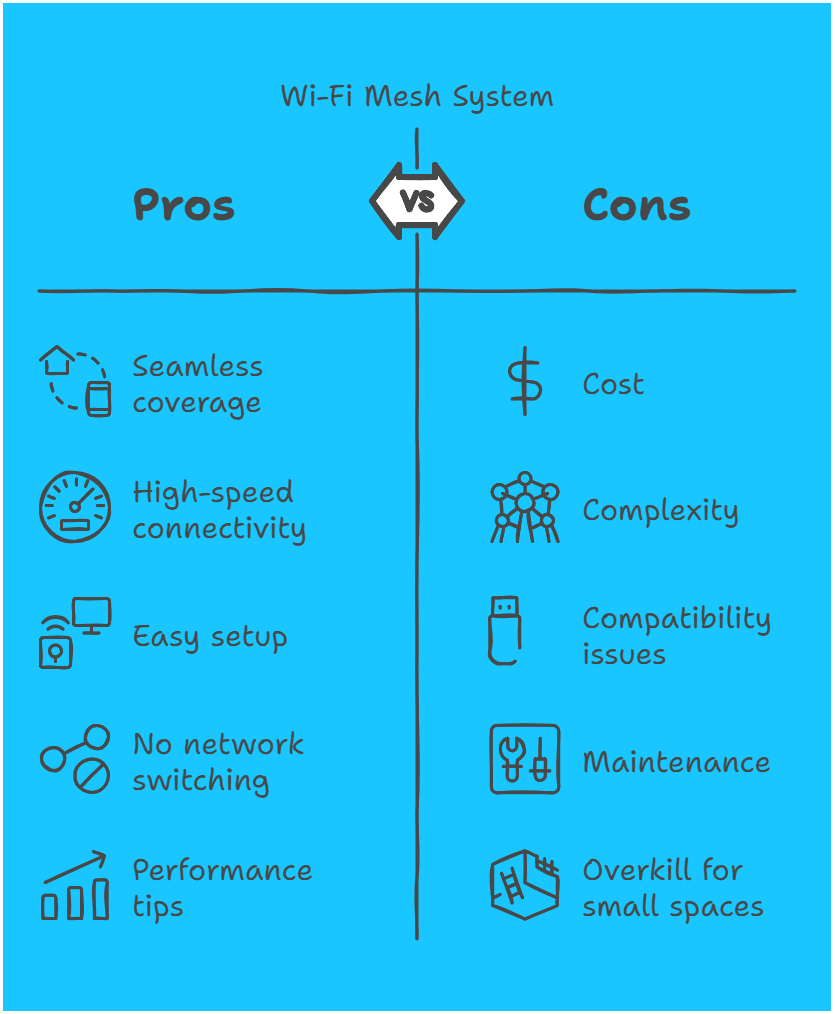
A Wi-Fi mesh system replaces your single router with a team of synchronized “nodes” that communicate with each other to create one unified network. Here’s why it’s a game-changer:
- No dead zones: Nodes act as signal boosters, eliminating weak spots.
- Seamless roaming: Devices automatically connect to the strongest node.
- Easy management: Control settings via a user-friendly app.
- Scalability: Add more nodes to cover larger homes or outdoor spaces.
Pro Tip: If your home is 2,000+ sq. ft. or has thick walls, a mesh system is far more effective than a traditional router.

Step 1: Choosing the Right Mesh System
Not all mesh systems are created equal. Here’s what to consider:
- Coverage: Match the system’s range to your home size. For example:
- Small homes: 1–2 nodes (e.g., TP-Link Deco M5).
- Large homes: 3+ nodes (e.g., Netgear Orbi RBK853).
- Outdoor coverage: Look for weather-resistant nodes (e.g., Amazon Eero Pro 6E).
- Speed:
- Wi-Fi 6/6E: Ideal for 4K streaming, gaming, and 50+ devices (e.g., ASUS ZenWiFi Pro ET12).
- Tri-band vs. dual-band: Tri-band reduces congestion for busy networks.
- Features:
- Parental controls, VPN support, or built-in smart hubs (e.g., Google Nest Wifi doubles as a smart speaker).
Step 2: Plan Your Node Layout
Strategic placement is key. Follow these rules:
- Main router: Connect directly to your modem in a central, elevated location (not hidden in a closet).
- Satellite nodes: Place halfway between the main router and dead zones. Avoid:
- Thick walls or metal surfaces.
- Appliances like microwaves or fish tanks (they interfere with signals).
- Corners or floors too far apart (nodes work best within 30–50 feet of each other).
Pro Tip: Use the system’s app to test signal strength during setup. Many apps (like Eero’s) have a “placement check” feature.
Step 3: Set Up the Main Router
- Connect to your modem:
- Power off your modem.
- Use the included Ethernet cable to plug the main node into the modem.
- Power on the modem first, then the main node.
- Download the app:
- Most systems (Google, Eero, Deco) require their app for setup.
- Follow in-app instructions:
- Create a network name (SSID) and password.
- Security tip: Use WPA3 encryption if supported, and avoid generic passwords like “password123.”
Step 4: Add Satellite Nodes
- Plug in nodes: Start with areas where you need better coverage (e.g., upstairs office or backyard).
- Sync via the app: Use the app to pair each node. This usually involves scanning a QR code or pressing a sync button.
- Optimize placement: If the app flags a “weak connection,” move the node closer to the main router or another node.
Pro Tip: For wired backhaul (faster speeds), connect nodes via Ethernet if possible.
Step 5: Fine-Tune Your Network
Unlock your mesh system’s full potential with these tweaks:
- Firmware updates: Enable auto-updates to patch security flaws and boost performance.
- Guest network: Keep visitors off your main network to reduce congestion.
- Device prioritization: Assign priority to devices like your work laptop or gaming console.
- Parental controls: Block specific sites or set time limits for kids’ devices.
Advanced Tip: Create a separate IoT network for smart devices (like cameras and thermostats) to isolate them from your primary devices.
Step 6: Test and Troubleshoot
- Speed tests: Use tools like Speedtest.net or the app’s built-in tester. Compare results near vs. far from nodes.
- Check for interference: Baby monitors, Bluetooth devices, and cordless phones can disrupt signals.
- Reposition nodes: If speeds lag, experiment with node placement. Sometimes moving a node 3–4 feet makes a huge difference.
Maintenance Tips for Long-Term Performance
- Reboot monthly: A quick restart clears glitches.
- Monitor usage: Check the app for unusual devices (to spot intruders).
- Add nodes as needed: Expanding your home? Add another node to maintain coverage.
Frequently Asked Questions
Q: Can I use a mesh system with my existing router?
A: Yes, but disable the old router’s Wi-Fi to avoid interference.
Q: Do mesh systems work with any internet provider?
A: Absolutely—they’re compatible with all ISPs.
Q: What’s the difference between a mesh system and a range extender?
A: Extenders create separate networks and cut speeds by 50%. Mesh systems preserve speed and use one network name.
Final Thoughts
Setting up a Wi-Fi mesh system is a straightforward process that can dramatically improve your home network’s performance. By following these steps, you’ll eliminate dead zones, enjoy faster speeds, and create a seamless online experience for everyone in your household. Say goodbye to buffering and hello to uninterrupted connectivity!
Have you recently set up a mesh system? Share your experience or tips in the comments below!


Leave a Reply
You must be logged in to post a comment.