MikroTik Router PPPoE Configuration step by step

By:

Published:

Updated:

MikroTik Router PPPoE Configuration step by step

Disclaimer

As an affiliate, we may earn a commission from qualifying purchases. We get commissions for purchases made through links on this website from Amazon and other third parties.

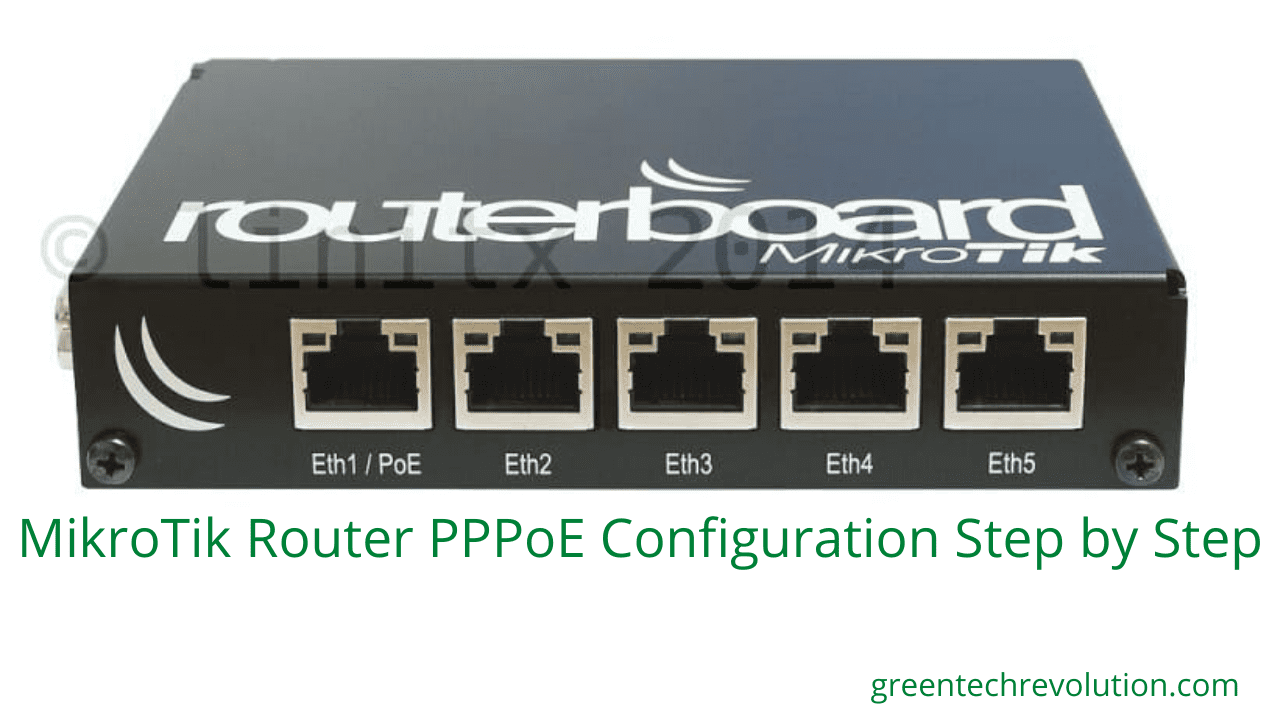
MikroTik Router PPPoE:

Internet service provider (ISP) will give a user id and password such as ISP  has given user name: test password: test. Now I will configuration MikroTik router step by step:
WAN Site configure (Step1 to Step2)

Step 1: winbox >Interfaces + PPPoE Client > General > select ether1 > Apply > OK

Step2: Interface + PPPoE > Dial Out > user =test > Password > Apply > OK


LAN Site Configure (Step1 to Step4)

Step1: PPP > PPPoE servers + Interface= ether5 > One sesson per host(select) > Apply > OK

Step2: PPP > Profiles + General > Name=512k > DNS=8.8.8.8 > Apply > OK

Step3: PPP > Profiles + Limits > Rate Limit(rx/tx) =512k/512k > Apply > OK

Step 4: PPP > secrets + Name=test > Password=test123 > Profile=512k, Local address=172.16.0.1(N.B Gateway) > Remote Address =172.16.0.10 >Apply > OK
you can see the video tutorial for better understanding:

Howdy! I’m Arafat Bidyut, Co-founder of a popular tech blog greentechrevolution, and a BSc in Electronics and Telecommunication Engineering.

With a passion for all things related to Wi-Fi routers, network devices, and software troubleshooting, my goal is to unravel the complexities of technology and make it accessible to everyone.

We may earn a commission if you click on the links within this article. Learn more.

Leave a Reply